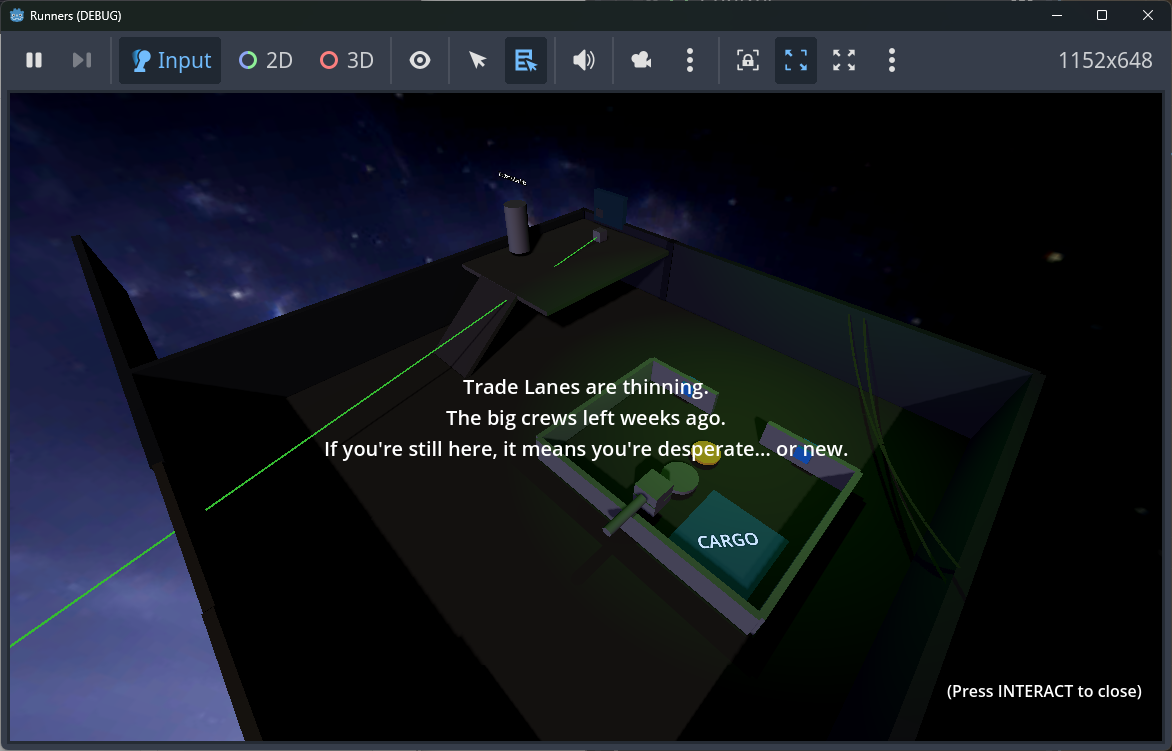
When you need to show a relationship between two 3D nodes (crate -> drop-off, switch -> door), a live wire in the editor is a fast way to debug layout and gameplay flow. This post covers a simple, reusable line-link scene that lets you pick a start and end node in the inspector and see the wire immediately.
Strategy
- Keep it scene-based so it can be reused across levels.
- Use
@toolso it runs in the editor and updates live. - Use
NodePathexports so designers can pick start/end nodes directly. - Draw with a cheap mesh (cylinder) and align it to the direction vector.
- Avoid reliance on non-existent nodes (e.g.,
Line3Dis not a Godot 4 node).
The Scene
res://scenes/line_link.tscn contains a single MeshInstance3D with the script below. It is instanced wherever you need a link.
The Script
@tool
extends MeshInstance3D
class_name LineLink

@export var start_path: NodePath = NodePath()
@export var end_path: NodePath = NodePath()
@export var line_color: Color = Color(1.0, 0.6, 0.2, 1.0)
@export var line_width: float = 0.05
@export var emission_strength: float = 1.0

var _line_mesh: CylinderMesh = null
var _line_material: StandardMaterial3D = null

func _ready() -> void:
	set_process(true)
	_ensure_resources()
	_update_line()

func _process(_delta: float) -> void:
	_update_line()

func _ensure_resources() -> void:
	if not _line_mesh:
		_line_mesh = CylinderMesh.new()
		_line_mesh.height = 1.0
		mesh = _line_mesh
	if not _line_material:
		_line_material = StandardMaterial3D.new()
		_line_material.shading_mode = BaseMaterial3D.SHADING_MODE_UNSHADED
		_line_material.emission_enabled = true
		material_override = _line_material

func _update_line() -> void:
	_ensure_resources()
	_line_material.albedo_color = line_color
	_line_material.emission = line_color
	_line_material.emission_energy_multiplier = emission_strength
	_line_mesh.top_radius = max(0.001, line_width * 0.5)
	_line_mesh.bottom_radius = _line_mesh.top_radius

	if start_path == NodePath() or end_path == NodePath():
		visible = false
		return

	var start_node = get_node_or_null(start_path)
	var end_node = get_node_or_null(end_path)
	if not (start_node is Node3D) or not (end_node is Node3D):
		visible = false
		return

	var start_pos = (start_node as Node3D).global_position
	var end_pos = (end_node as Node3D).global_position
	var to_end = end_pos - start_pos
	var distance = to_end.length()
	if distance <= 0.01:
		visible = false
		return

	visible = true
	var midpoint = start_pos + to_end * 0.5
	var direction = to_end.normalized()
	var up = Vector3(0, 1, 0)
	if abs(direction.dot(up)) > 0.99:
		up = Vector3(0, 0, 1)
	var x_axis = up.cross(direction).normalized()
	if x_axis.length() <= 0.001:
		up = Vector3(1, 0, 0)
		x_axis = up.cross(direction).normalized()
	var z_axis = x_axis.cross(direction).normalized()
	global_transform = Transform3D(Basis(x_axis, direction, z_axis), midpoint)
	scale = Vector3(1.0, distance, 1.0)
Usage
- Instance
LineLinkinto your level. - In the inspector, set
start_pathandend_pathby picking nodes in the scene tree. - Adjust
line_width,line_color, andemission_strengthfor visibility.
Now the line updates in the editor and runtime, so you can position gameplay objects with immediate visual feedback.
Notes
- The line uses a
CylinderMeshso it reads as a wire rather than a single-pixel debug line. - The line is fully editor-driven; no runtime scripting or extra setup required.
- This pattern is easy to reuse for puzzles, objectives, and navigation cues.
Leave a Reply